The Detail Freaks Blog
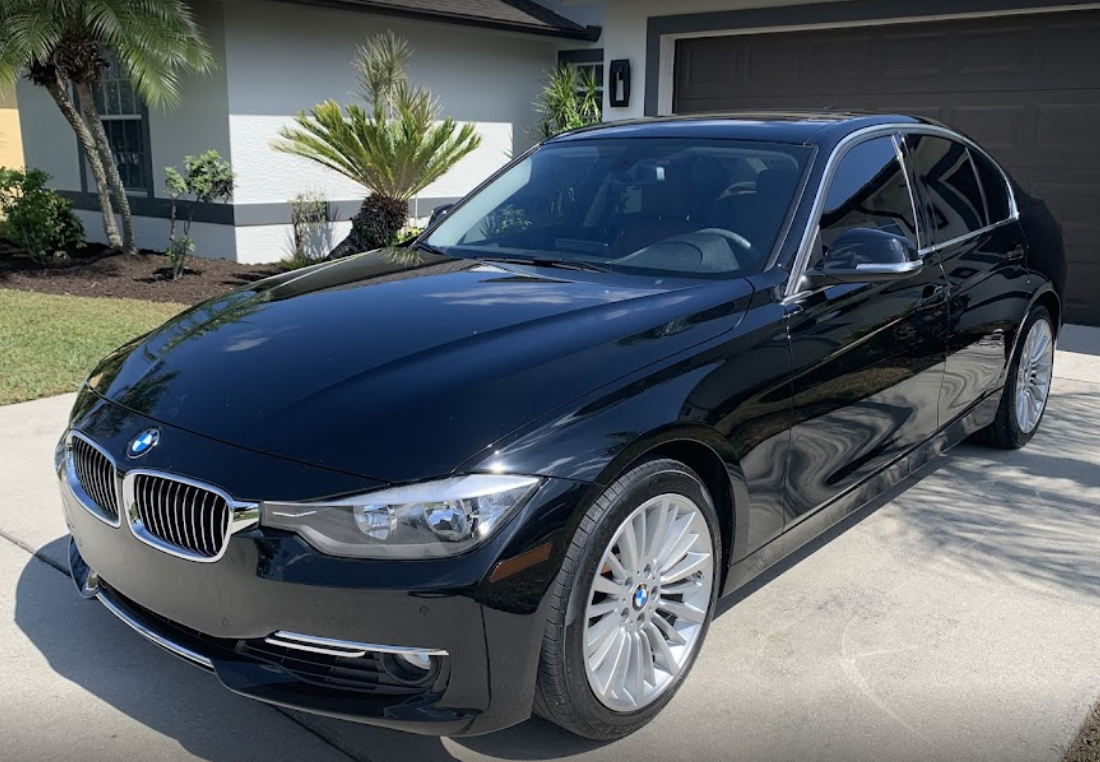
With everyday use, cars are exposed to a multitude of environmental hazards that can take a toll on their appearance and value. This is where paint protection films (PPF) come into play, providing an effective way to protect your investment. At The Detail Freaks , we understand the significance of preserving your vehicle's pristine condition. Our expertise as a paint protection film installer , coupled with the top-tier materials we use, ensures that your car remains in showroom-worthy condition for years. We'll explore the value of paint protection films and why choosing The Detail Freaks for your installation needs is a decision you won't regret. Paint protection films can preserve perfection and enhance the longevity of your vehicle's exterior.
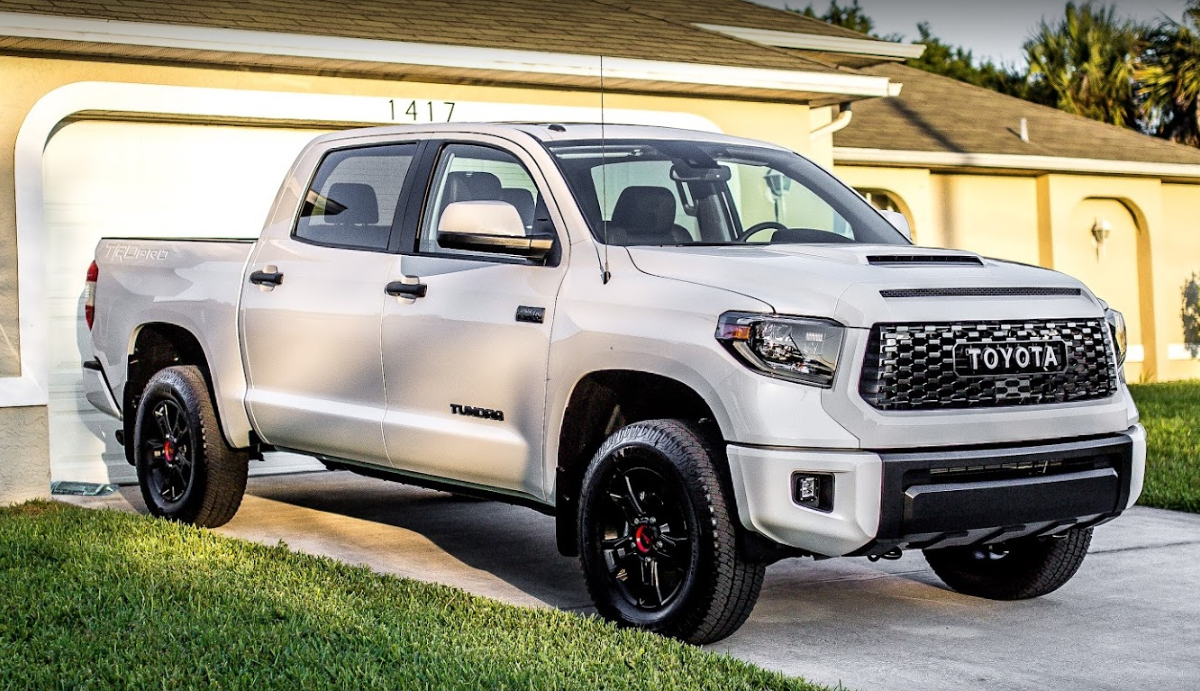
At The Detail Freaks, we provide your vehicle with unparalleled clear bra protection. Our approach blends precision and protection, ensuring your car's paint remains pristine for years. You can rely on our expertise to provide your car with the best possible care and attention. As experienced professionals in the field of vehicle protection, we know how important it is to safeguard your investment. Clear bra installation is more than just a service to us—it's a commitment to preserving the integrity and appearance of your vehicle for the long haul. Join us as we delve into the world of clear bra installation and discover how The Detail Freaks can keep your vehicle looking its best, mile after mile.
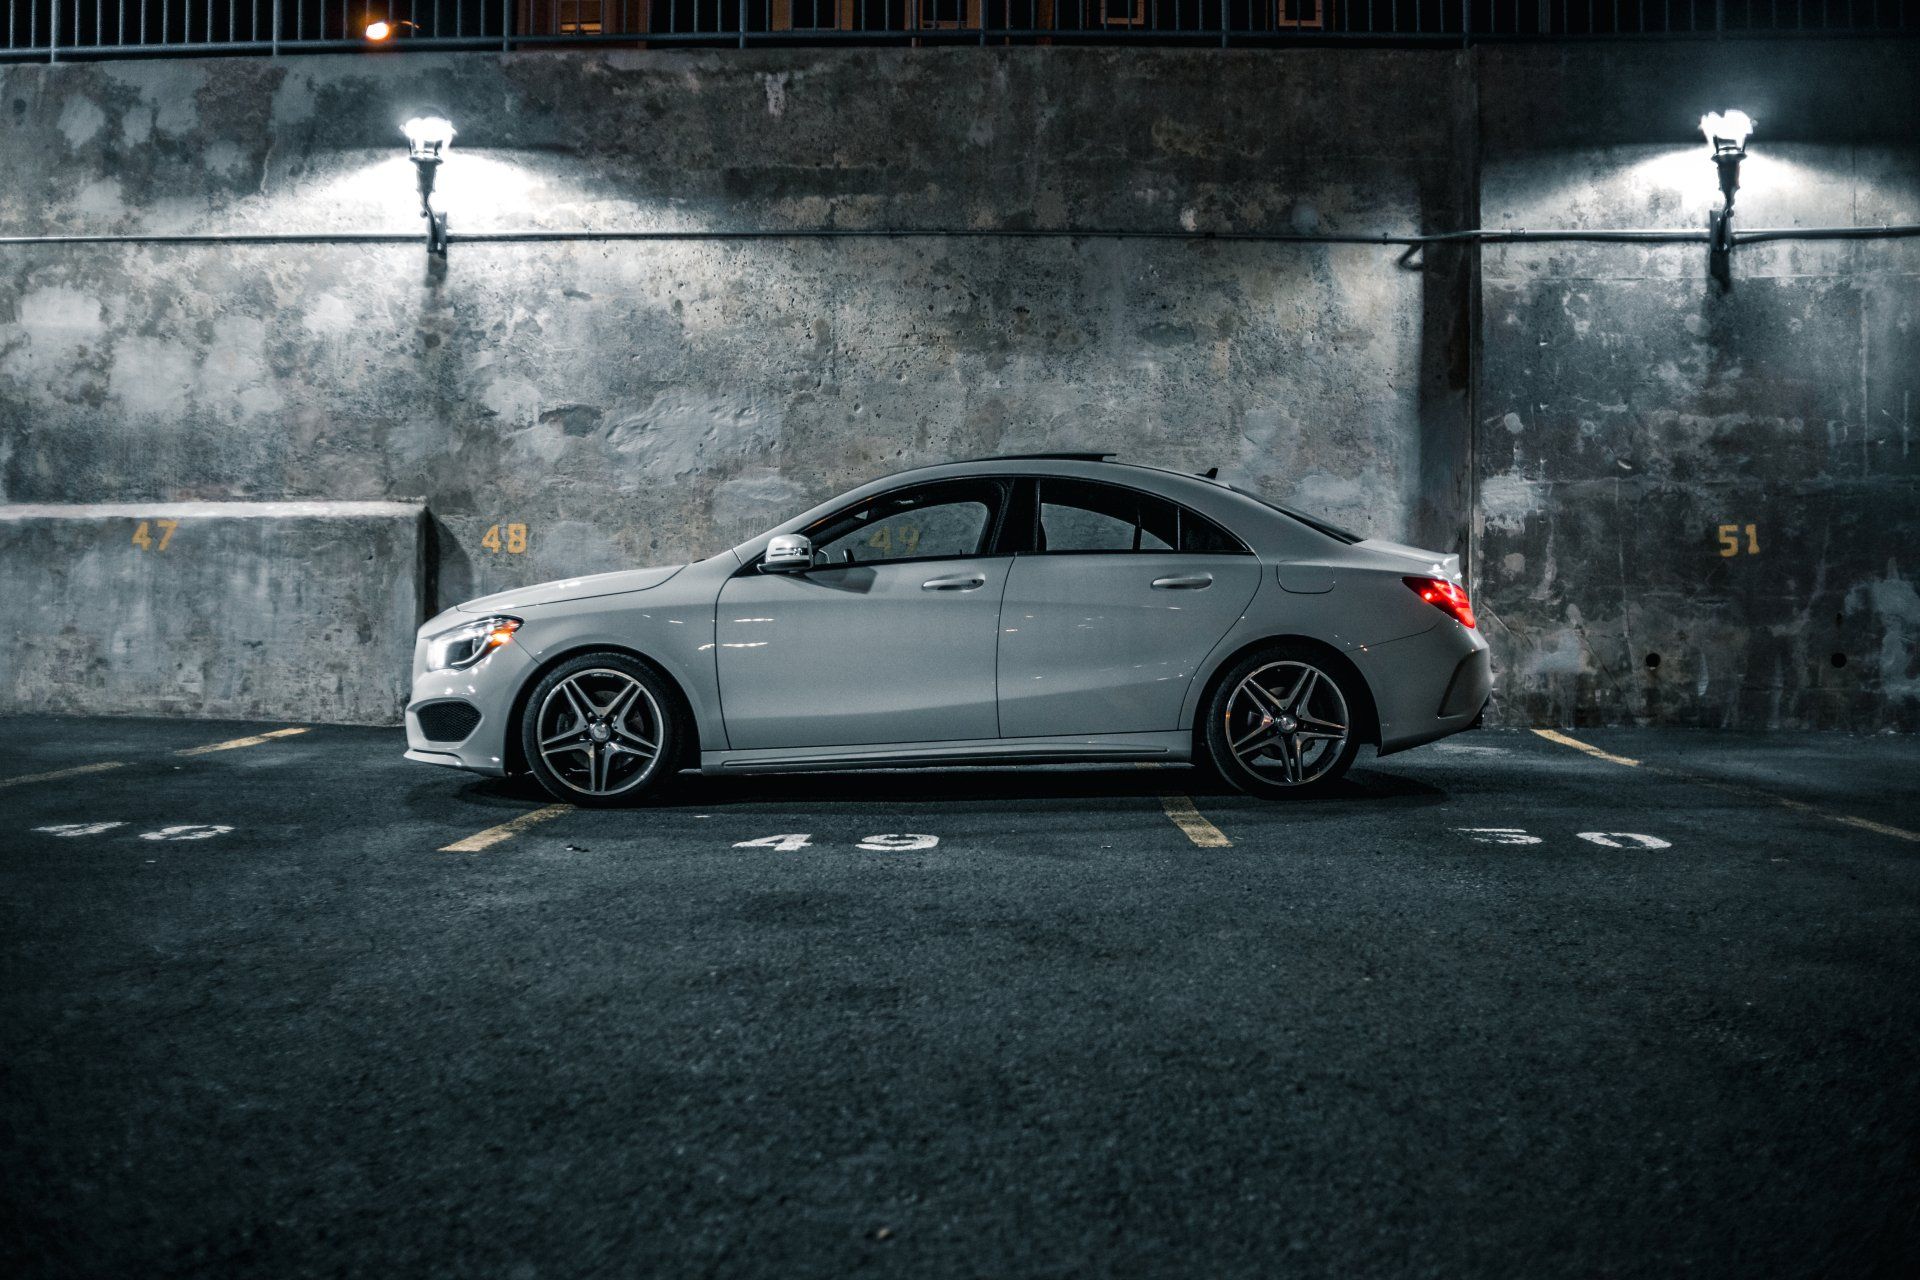
This is a subtitle for your new postCeramic coatings have gained significant attention in car care for their ability to protect and enhance the appearance of vehicles. However, numerous myths and misconceptions circulate amidst the buzz surrounding ceramic coatings. In this discussion, The Detail Freaks ai
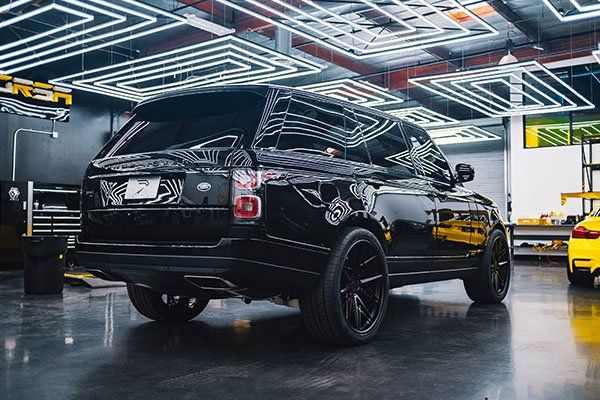
When safeguarding your luxury vehicle, opting for expert paint protection film installation is crucial. Paint protection film (PPF) serves as an invisible shield, protecting your car's pristine paint job from various environmental hazards and daily wear and tear. At The Detail Freaks , our team of experienced paint protection film installers specializes in providing top-tier PPF installation services tailored specifically for luxury cars in Fort Myers. Importance of Paint Protection Film (PPF) for Luxury Cars Luxury cars demand meticulous care to maintain their aesthetic appeal and value. Paint protection film (PPF), also known as clear bra, offers a proactive solution by covering your premium car with a layer of protection from road debris, UV rays, bird droppings, and other damaging elements. This ensures that your luxury car retains its showroom-quality finish for years, making it a worthwhile investment. With expert PPF installation from The Detail Freaks, you can rest assured that your expensive vehicle receives the utmost care and protection. Our customized solutions address the special requirements of luxury vehicles, providing comprehensive coverage that shields every inch of your car and peace of mind for discerning car owners.
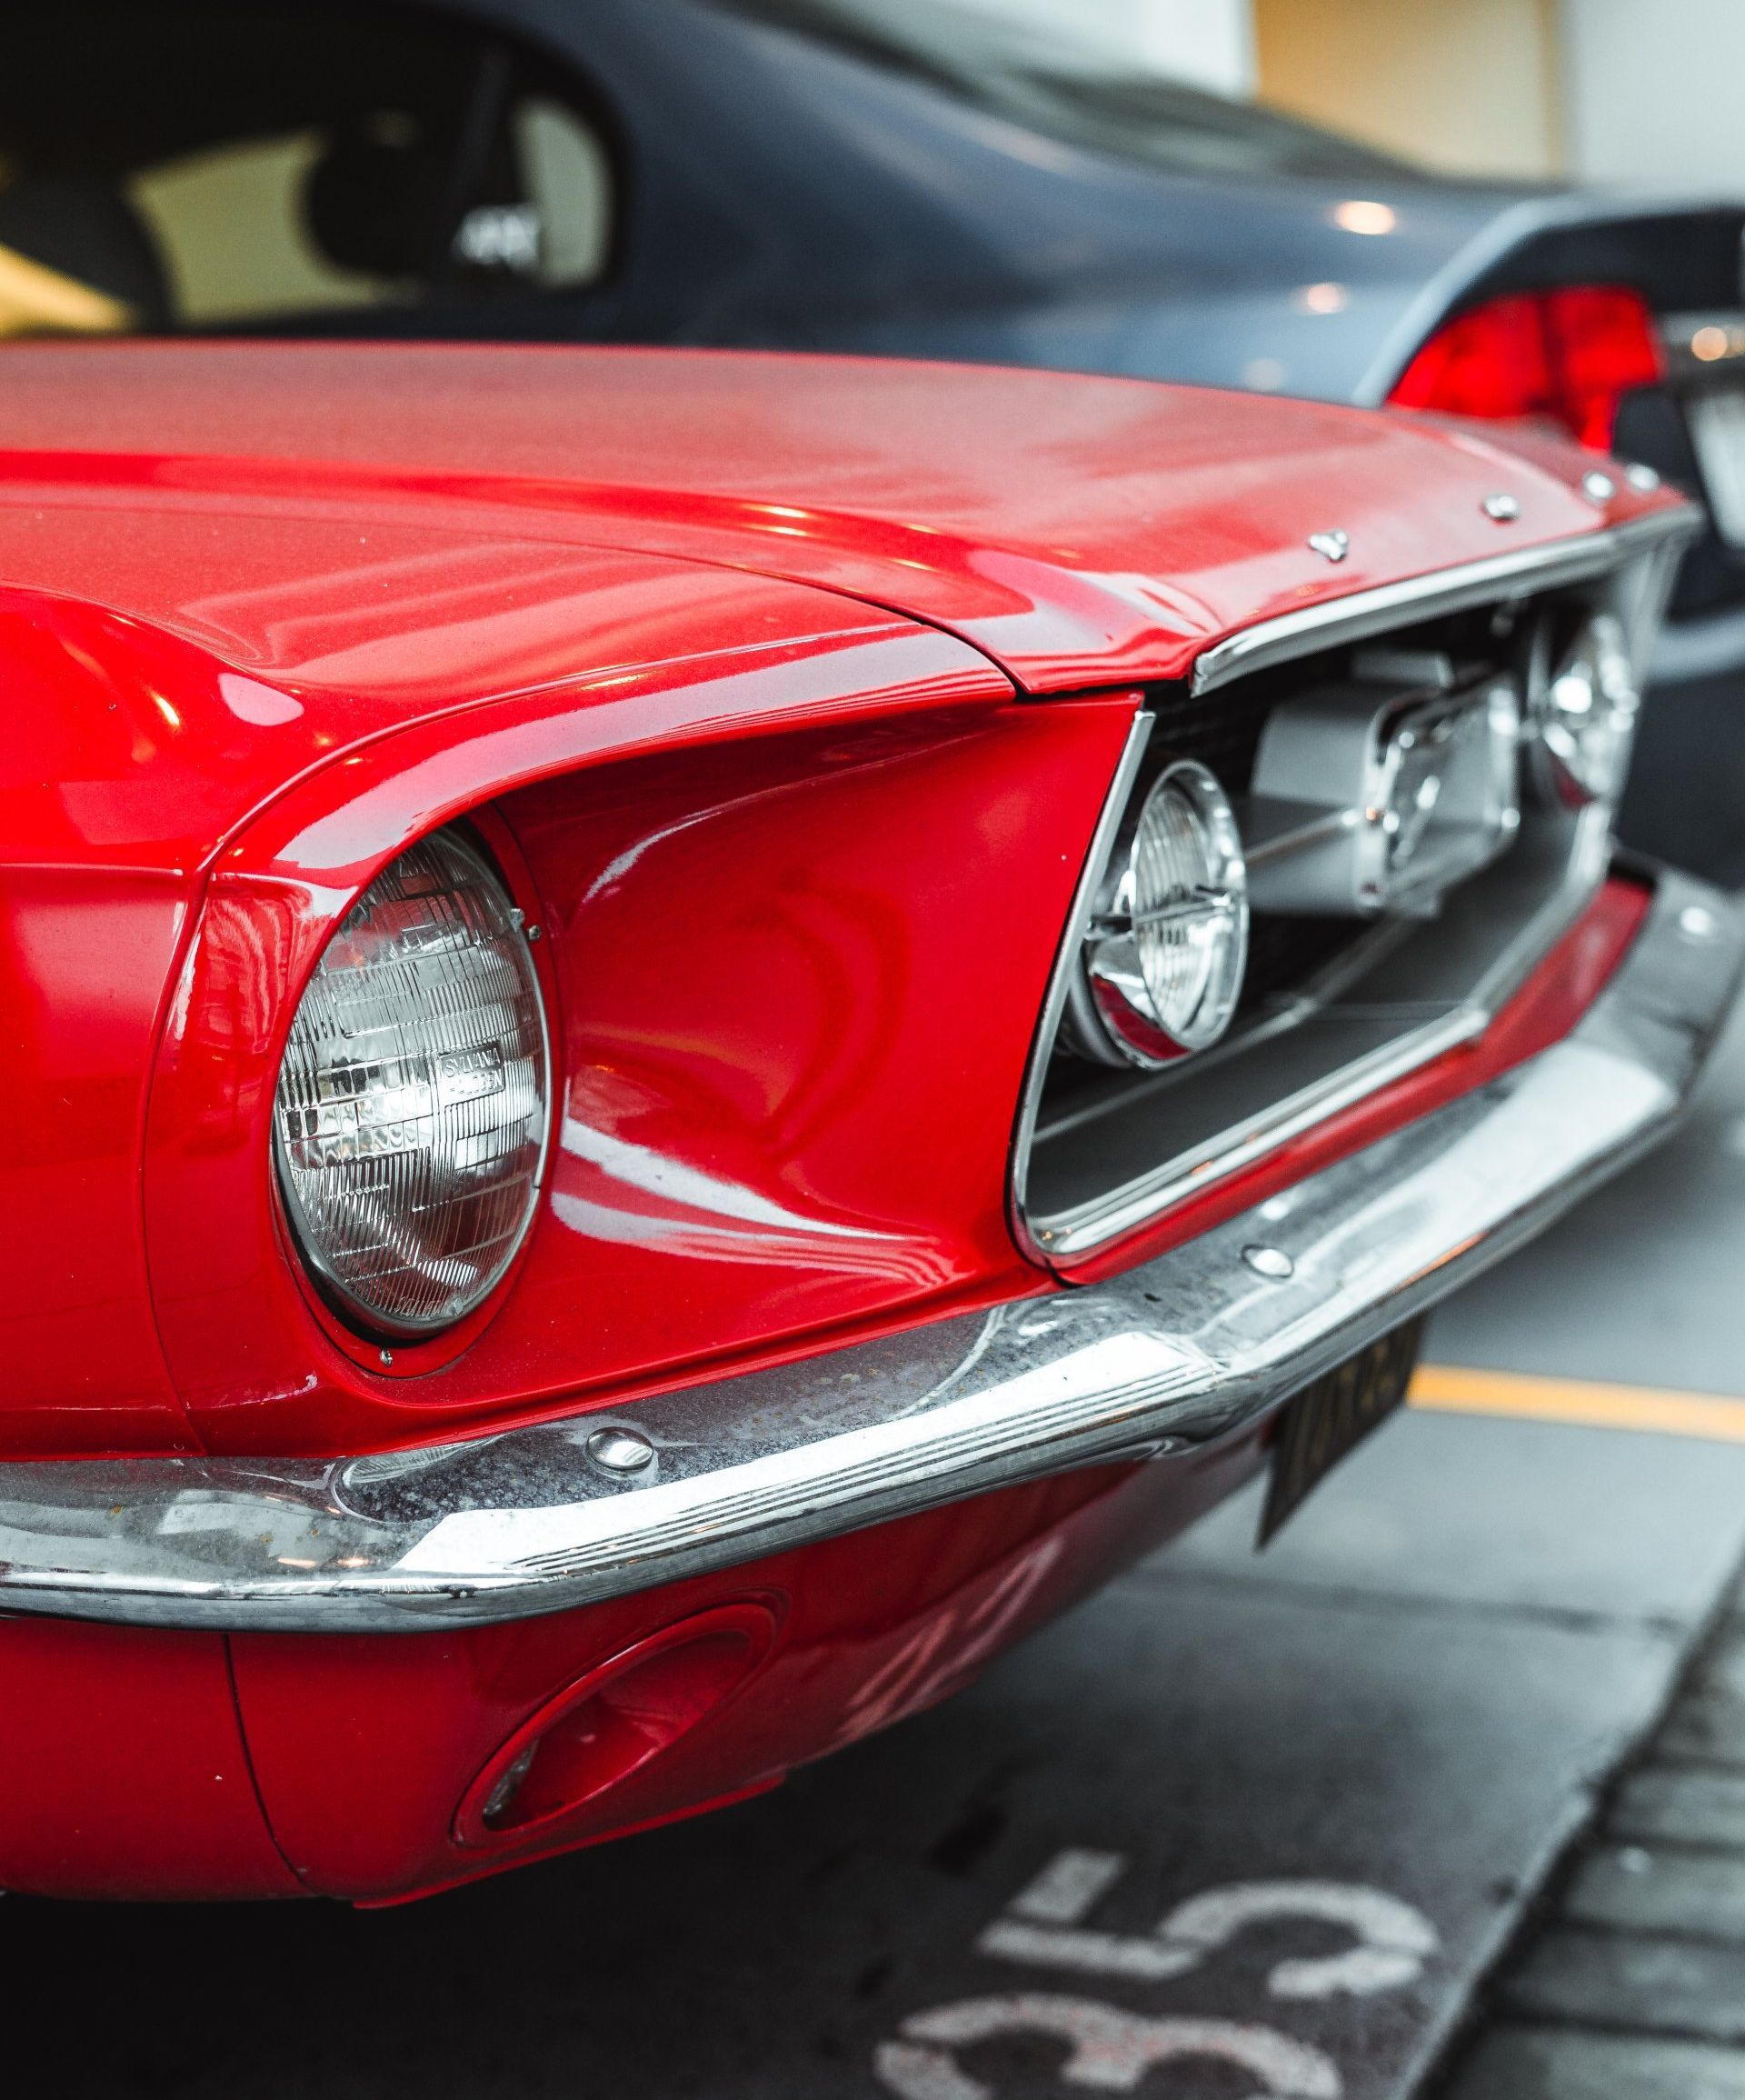
Paint protection film (PPF) or clear bra is a crucial defense mechanism when safeguarding your vehicle's exterior. As the premium clear bra installers , The Detail Freaks in Fort Myers, FL, we understand the significance of protecting your vehicle from chips, scratches, and environmental damage. Our range of customization options for PPF allows you to elevate your vehicle's defense while maintaining its pristine appearance.
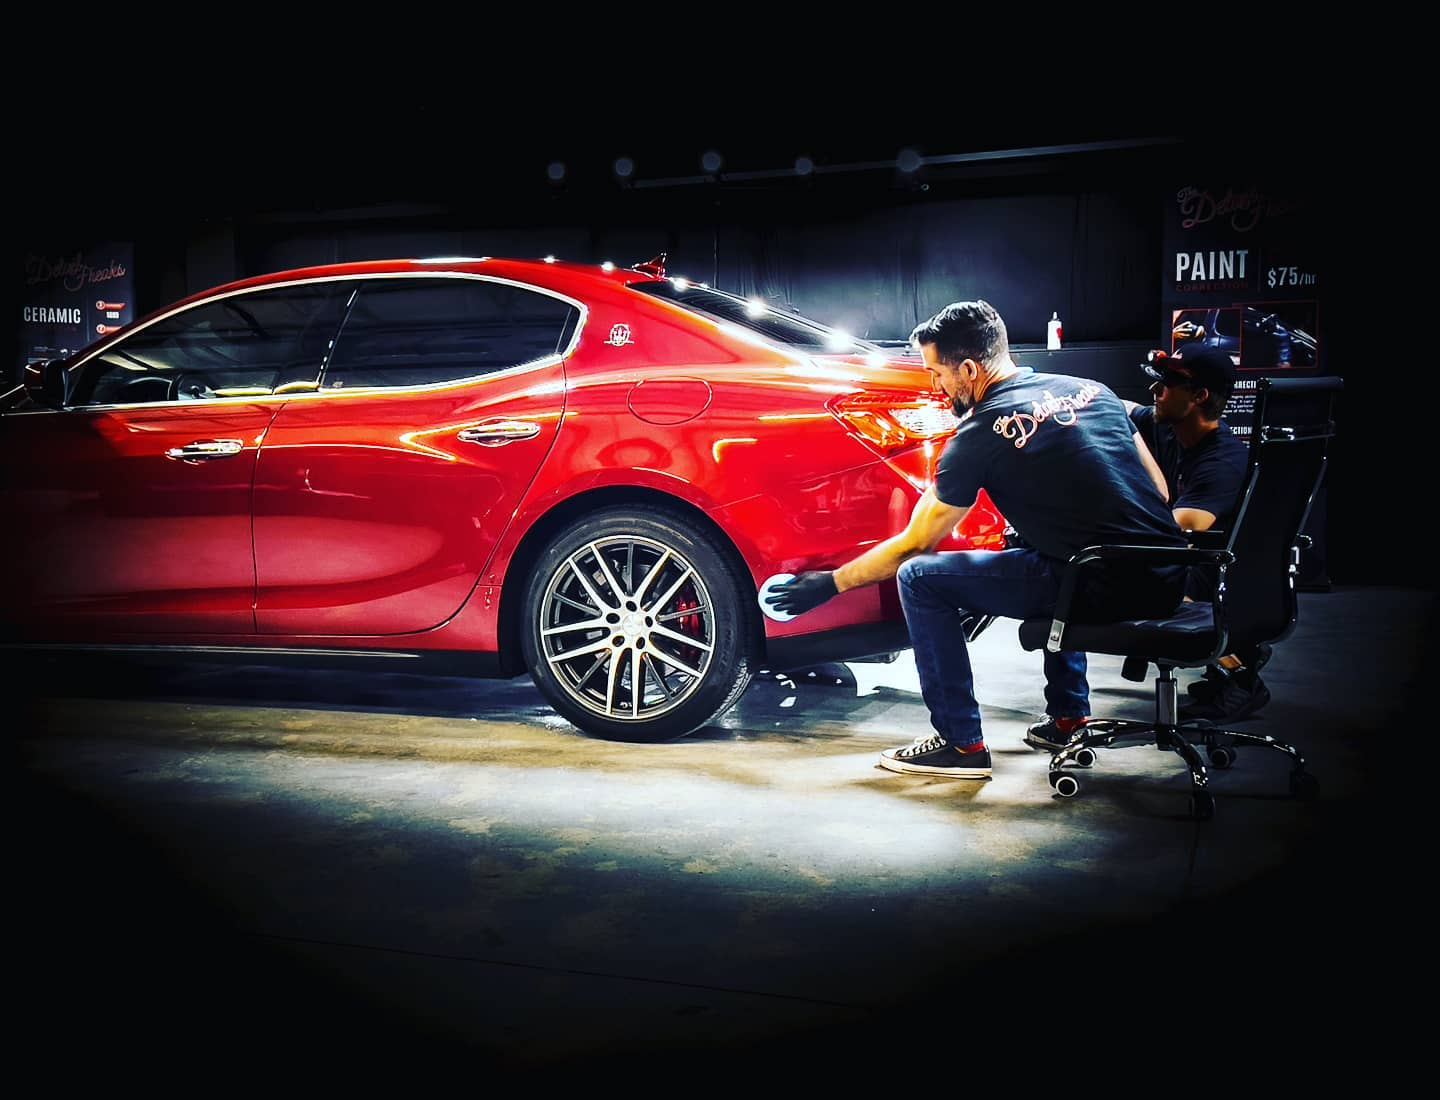
Ceramic coating emerges as an indispensable solution when protecting your vehicle in Fort Myers, Florida's hot and humid climate. The unique weather conditions in this region pose significant challenges to maintaining the exterior integrity of vehicles, making it crucial for car owners to seek long-term preservation solutions. This is where ceramic car coating steps in as the ultimate safeguard against the harsh elements that can wreak havoc on your vehicle's paintwork. As the premier provider of ceramic coating services in Fort Myers, The Detail Freaks prides itself on delivering exceptional quality and expertise to every customer. Our team is committed to ensuring that your car receives the best possible protection and care, designed to meet the unique requirements of Fort Myers' climate. This includes giving the vehicle's surface a thorough cleaning and preparation, application of professional ceramic coating using advanced techniques, and a final inspection to ensure a flawless finish. With our state-of-the-art ceramic coating solutions, you can rest assured knowing your investment is safeguarded against the elements while maintaining a showroom-worthy shine. Ceramic coating is not just a luxury but an essential investment for car owners. By choosing The Detail Freaks as your trusted provider of ceramic coating in Fort Myers , you are proactively deciding to protect your vehicle from the harsh realities of the Florida climate, ensuring its longevity and value for years to come.
Synopsis: Ceramic coating is an essential protective layer for vehicles in the harsh climate of Fort Myers, Florida. It protects against intense sunlight, high humidity, and other environmental contaminants that can damage a car's paint over time. A high-quality ceramic coating preserves the vehicle's aesthetic appeal by enhancing gloss and depth and offers long-lasting protection against UV rays, oxidation, chemical stains, and scratches. This durable coating creates a hydrophobic surface that repels water and makes maintenance easier, reducing the need for frequent washing and waxing. The blog highlights the expertise of The Detail Freaks, a professional detailing service in Fort Myers that specializes in ceramic coating applications and paint protection film applications. Their skilled technicians use state-of-the-art products and techniques tailored to address the specific challenges of the tropical climate. They offer customized solutions based on vehicle type, usage patterns, and individual protection needs. Focusing on comprehensive coverage for all makes and models, The Detail Freaks ensures that every vehicle receives the ultimate paint protection, enhancing its aesthetic appeal while safeguarding its performance and resale value. Ceramic coating is like a superhero shield for your car's exterior. It forms an unyielding protective layer that battles harsh weather conditions, from extreme sun rays to high humidity levels, common to Fort Myers. But it's not just about defense; imagine this coating as a beauty treatment for your ride, preserving its aesthetic allure while enhancing longevity. This might be what your car needs; after all, who doesn't want a lasting shine that also fights off environmental villains? Ready for the solution? Let's delve into the magic of ceramic coating in Fort Myers . Look no further than The Detail Freaks in Fort Myers for professional ceramic coating services. Our skilled technicians use state-of-the-art products and techniques to apply durable ceramic coatings that provide superior protection against road grime, oxidation, and UV damage. Contact us today for a free quote and experience the ultimate paintwork enhancement. Ceramic Coating: Ultimate Paint Protection in Fort Myers At first glance, applying a layer of ceramic car coating may seem like just another car detailing service. However, its significance goes far beyond appearances. In Fort Myers, where the sun shines intensely year-round and high humidity levels add an extra challenge, the ceramic coating acts as a shield for your vehicle's paint, protecting it from the damaging effects of the environment. Imagine ceramic coating as a suit of armor for your car, standing strong against the elements that seek to damage its exterior. The intense sunlight and UV exposure can lead to paint oxidation and fading, while high humidity levels make vehicles vulnerable to chemical staining and other environmental contaminants. This is where ceramic car coating swoops in as the hero, providing an impenetrable barrier that preserves the shine and integrity of your vehicle's paintwork. Our professional application of ceramic coating will ensure that your vehicle's exterior is safeguarded from the adverse effects of Fort Myers' climate. We use state-of-the-art products and techniques to create a bond between your car's factory paint and the protective layer of ceramic coating. Additionally, we recommend regularly scheduled re-application of ceramic coating to maintain its effectiveness over time. This attention to detail ensures that your vehicle continues to be protected from the climatic factors unique to Fort Myers. The Ceramic Coating Application Process When it comes to applying ceramic coating on your car, precision is key. Our team at The Detail Freaks understands the importance of surface preparation and expert application techniques to deliver the best results for your vehicle. Let's break down each step of the process to provide an in-depth understanding of what goes into this essential service. Surface Preparation Before the application of ceramic coating, the vehicle's exterior undergoes a comprehensive cleaning and decontamination process. We meticulously remove all traces of dirt, grime, and previous protectants from the paint surface. This step is crucial as it ensures that the ceramic coating can bond effectively with the clear coat, creating a smooth and uniform surface for application. We take great care during the decontamination process to eliminate any impurities that could hinder the adherence of the ceramic coating. This involves using specialized products and techniques to strip away old wax, sealants, and any other residue that may have accumulated on the paint. By doing so, we pave the way for a strong bond between the ceramic coating and your car's exterior. Application of Ceramic Coating With the surface immaculately prepped, it's time for the ceramic coating itself to be applied. Our experienced technicians utilize professional techniques to ensure even coverage and a durable protective layer across every inch of your vehicle. Each application is carried out with precision and attention to detail to guarantee consistent protection against environmental contaminants and UV rays. During the application process, our certified professionals handle the ceramic coating with finesse, ensuring that every contour and crevice of your car receives adequate coverage. This meticulous approach leaves no area unprotected, ensuring that your vehicle's exterior is shielded comprehensively for an extended period. Curing Process Once the ceramic coating has been skillfully applied, it undergoes a crucial curing process. This step initiates a chemical reaction that bonds the protective layer with the vehicle's paintwork, creating a robust, long-lasting shield. The curing process ensures that the ceramic coating forms a strong molecular bond with the clear coat, providing unparalleled protection against environmental elements. At The Detail Freaks, we understand that an effective curing process is paramount to achieving optimal results from ceramic coating in Fort Myers. We carefully monitor this stage to ensure that the protective properties are fully activated, enabling the coating to deliver exceptional durability and resilience over time. The expertise and attention to detail invested in each step of the ceramic coating application process reinforce our commitment to providing your vehicle with superior paint protection that lasts.
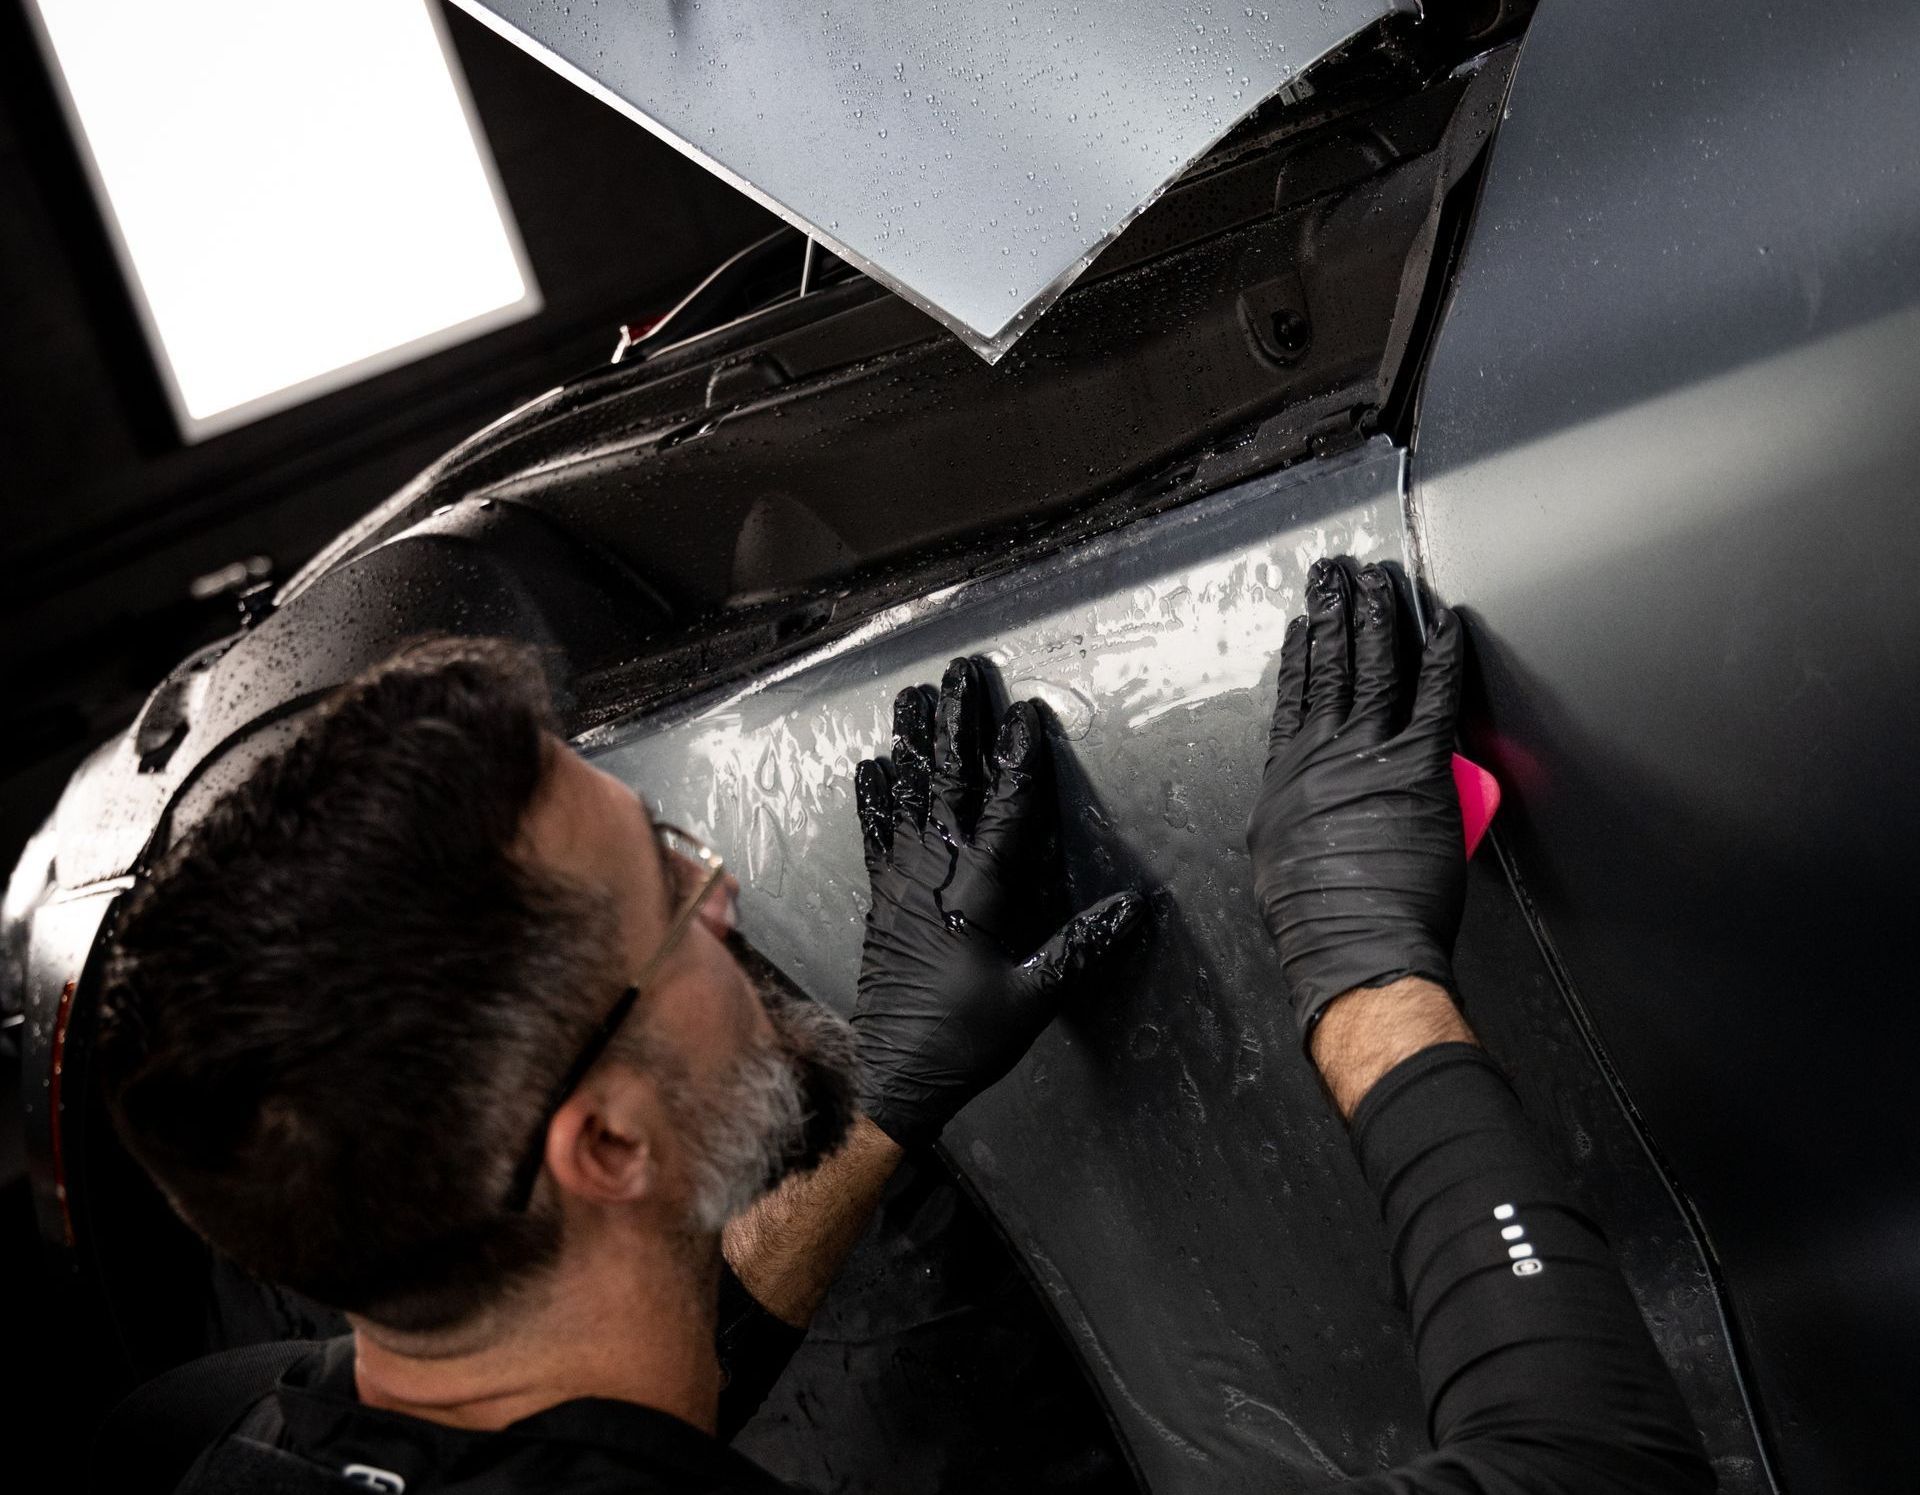
Synopsis: Protecting your vehicle's paint job is crucial for maintaining its pristine condition and resale value. The blog delves into the intricate process of Paint Protection Film (PPF) installation, which acts as a transparent shield against rock chips, scratches, and environmental damage. It emphasizes the significance of meticulous surface preparation, including thorough cleaning and addressing imperfections, to ensure optimal adhesion and a flawless finish. The blog also highlights the essential tools required for a seamless PPF installation, such as heat guns, squeegees, and razor blades, and provides a detailed step-by-step procedure for the installation process. The blog further discusses the importance of evaluating the appropriate coverage area for PPF installation based on individual driving habits and vehicle type. It addresses common installation issues like air bubbles, misalignment, and lifting edges, offering troubleshooting techniques and underscoring the significance of professional expertise. Additionally, the blog covers maintenance tips for preserving the longevity and effectiveness of the PPF, as well as guidance on selecting the best PPF option based on factors like quality, clarity, self-healing properties, and manufacturer warranties. Lastly, it answers frequently asked questions, clarifying concerns about installation time, drawbacks, purpose, and what to look for in a professional installer. Paint protection film (PPF) installation offers a range of benefits, including safeguarding your vehicle's paint from rock chips, scratches, and environmental damage. It also enhances the car's resale value and reduces maintenance efforts, ensuring that your vehicle stays looking pristine for years to come. Our PPF installation services at The Detail Freaks provide top-tier protection while maintaining the original appearance of your vehicle. The secret to an excellent PPF installation lies in the thorough preparation of your vehicle. It might seem like a simple clean-up job, but it's more than just washing off dirt; eradication of wax and residues and inspecting the paintwork are all part of a meticulous process that must be adhered to. This fine detailing ensures imperfections or damages don't interfere with the film application. You might be surprised to learn that the toolkit required isn't overly complex - essential tools for a successful PPF installation include a heat gun, squeegee, razor blade, soap solution in a spray bottle, and a trusty microfiber cloth. The result? A smooth finish free from unappealing air bubbles. Preparing for PPF Installation Getting your vehicle ready is a crucial step in the PPF installation process. It's more than just scheduling an appointment and driving in. Think of this as preparing a canvas before creating a masterpiece—the better the preparation, the better the end result. At The Detail Freaks, we always provide our clients with a detailed checklist so they can ensure their vehicles are prepped and ready for the installation process. The first thing to do is give your car a deep clean. This step cannot be emphasized enough. Every nook and cranny needs to be squeaky clean. Even a small dirt or wax residue can impact how well the PPF coating adheres to the surface. This includes cleaning areas often overlooked, such as door jambs and wheel wells. Once cleaned, we perform a thorough inspection of the paintwork. We look for imperfections or damages, such as scratches, dings, or chips in the paint. Addressing these issues before applying the PPF will ensure a smooth and flawless finish. Our team at The Detail Freaks is happy to assist with any necessary paint correction. Another essential aspect of preparation is ensuring that no residues, such as wax or polish, are left on the paintwork. These residues can interfere with the bonding process of the PPF and compromise its effectiveness. This requires using a specialized pre-installation cleaner to eliminate any final traces of contaminants from the surface. Imagine applying adhesive tape to a dusty surface—it won't stick properly, right? The same principle applies here. A clean and well-prepped surface ensures maximum adhesion and longevity for your PPF coating. It's important to note that this level of thoroughness isn't just for show—proper preparation directly impacts the quality and durability of the PPF installation process. Tools Required for PPF Installation A crucial aspect of a successful paint protection film (PPF) installation is having the right tools. Selecting and using the proper tools is paramount to achieving a seamless and professional-looking finish. To achieve this, we rely on several key tools to ensure that the PPF is effectively positioned, trimmed, and adhered to the vehicle's surface. Heat Gun The heat gun is an indispensable tool for a PPF installer . By releasing controlled bursts of hot air, we can soften and manipulate the PPF, enabling it to conform to the unique contours of a vehicle. This ensures a precise and snug fit around edges and curves, reducing the risk of air bubbles or creases. Squeegee A squeegee ensures the PPF coating is securely applied to the vehicle's surface without leaving any air pockets or wrinkles behind. It aids in pushing out excess soap solution during installation, promoting proper adhesion between the film and the paintwork. Additionally, a squeegee facilitates smoothing out imperfections, contributing to a flawless finish. Razor Blade A razor blade is essential for precision trimming the PPF during installation. It allows installers to achieve clean and accurate cuts, ensuring the film aligns seamlessly with the vehicle's features. This attention to detail is crucial in creating a visually appealing and well-fitted protective layer.
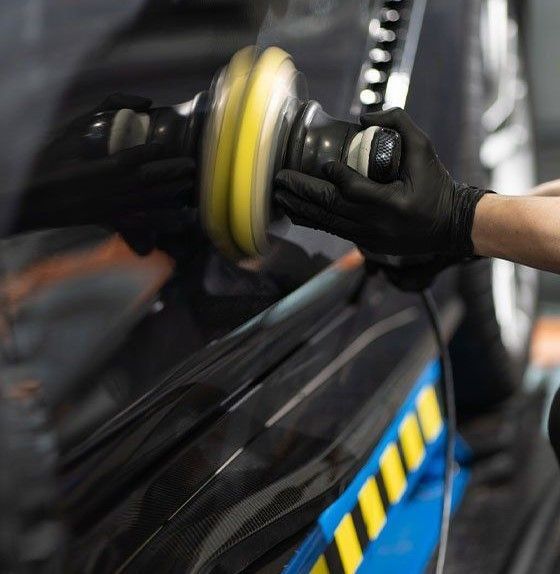
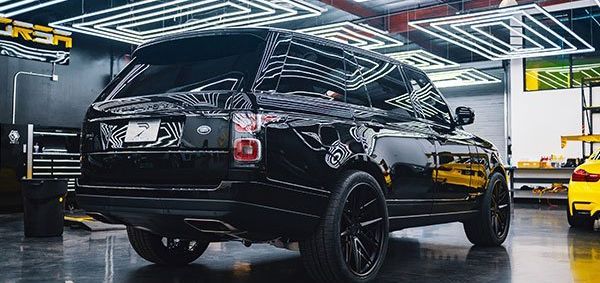
Synopsis: The blog expertly outlines the importance of employing experienced paint protection film (PPF) installers like The Detail Freaks. It highlights their skill in applying PPF and the comprehensive advantages this protection offers vehicles. It discusses how PPF acts as a safeguard against environmental damages and the meticulous application process that ensures the vehicle's aesthetic and structural integrity are preserved. Additionally, the blog details the services provided by professional PPF installers, stressing the significance of selecting seasoned professionals for the job. It addresses common concerns around PPF, including its durability, maintenance needs, and the impact on the vehicle's appearance, and a cost-benefit analysis supporting the investment in professional PPF installation. This narrative educates car owners on the benefits of PPF and guides them in making an informed decision to protect their vehicle's appearance and value. Trusting experienced paint protection film installers is vital in maintaining your car’s luster. These professionals utilize precise techniques, ensuring a smooth and flawless application that suits your vehicle’s specific surface. More than just the application, knowledgeable installers offer valuable maintenance and prolonged care advice. Despite all this expertise, an understandable question might linger - "What about the cost?" The good news is that expert service doesn't equate to exorbitant prices. Proceed with assurance, as value for money is a hallmark of our service. Just like each vehicle has its unique surface, your needs have unique solutions, too. The Detail Freaks stands out as a paint protection film installer due to our expertise, top-tier materials, and precision in tailoring the PPF to each vehicle's unique curves and contours. Our installation services ensure that your car's paint is safeguarded from elements encountered during off-road adventures, preserving its aesthetics and reducing the risk of rust and corrosion.
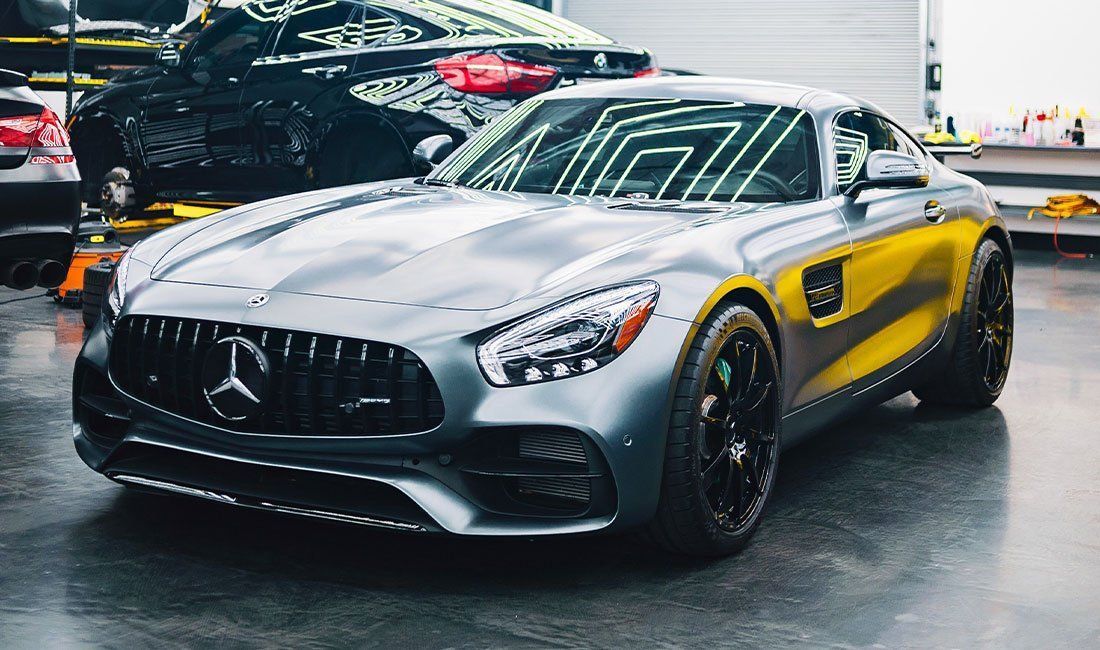
Ceramic coating for cars is like a solid shield of armor. It safeguards your vehicle from common damages such as stains, oxidation, harsh weather conditions, and even UV rays. Imagine an invisible layer that helps maintain your car's glossy, fresh-from-the-showroom gleam for years. Ceramic coating isn’t just for the body of the car. Picture your glass windows, plastic trims, and shiny wheels with the same resilient protection. This long-lasting shield keeps your car looking cleaner longer because dirt has difficulty sticking to it. Ready to dive into a world where your car stays glossy, spic, and span, with minimal effort? Let's journey together. Ceramic coating protects against environmental elements, including UV rays, acid rain, and oxidation. It also enhances the car's visual appeal by providing deep, mirror-like reflections and repelling water, dirt, and grime. Our professional-grade ceramic coatings offer 3 to 7 years of protection, depending on the package chosen, ensuring that your vehicle maintains a showroom finish for years.


